How to Tighten a Loose Faucet: A Comprehensive Guide
Is your faucet wobbling, dripping, or just plain annoying? A loose faucet isn’t just an inconvenience; it can lead to bigger plumbing problems down the line. Luckily, tightening a loose faucet is often a straightforward DIY project that can save you money and prevent further damage. This comprehensive guide will walk you through the process step-by-step, providing you with the knowledge and confidence to tackle this common household repair. We’ll cover everything from identifying the cause of the looseness to selecting the right tools and executing the repair safely and effectively. With clear instructions and expert tips, you’ll be able to restore your faucet’s stability and prevent costly plumbing issues.
Understanding Why Your Faucet Is Loose
Before diving into the repair process, it’s essential to understand why your faucet might be loose in the first place. Several factors can contribute to this issue, and identifying the root cause will help you choose the right solution. Here are some of the most common culprits:
- Worn-out mounting hardware: Over time, the nuts, bolts, and screws that hold the faucet in place can loosen due to vibrations, temperature changes, and regular use.
- Corrosion: Rust and corrosion can weaken the mounting hardware, making it difficult to keep the faucet securely attached to the sink or countertop.
- Loose connections: The water supply lines connected to the faucet can sometimes loosen, causing the entire fixture to wobble.
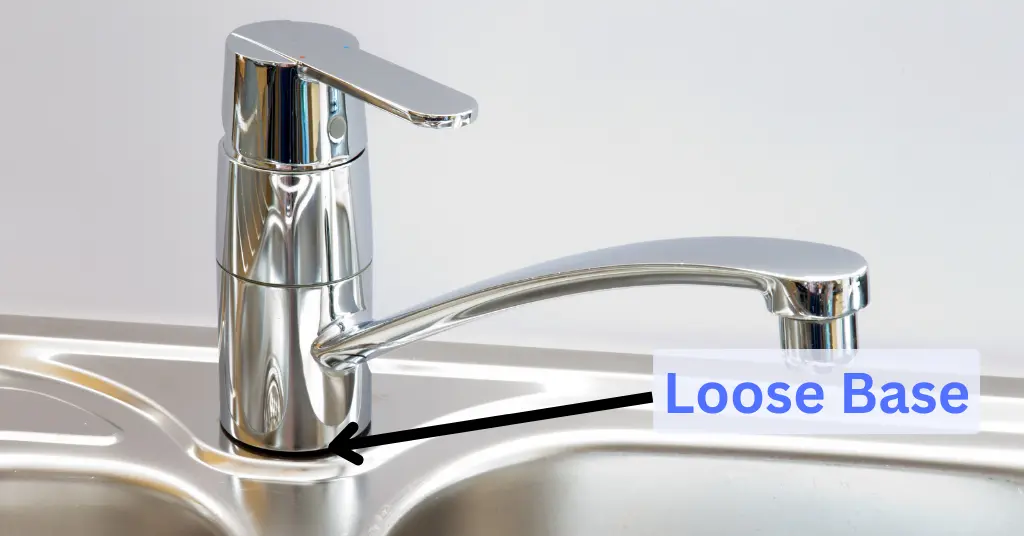
- Damaged faucet base: In some cases, the base of the faucet itself may be cracked or damaged, leading to instability.
- Improper installation: A faucet that wasn’t properly installed in the first place is more likely to become loose over time.
By understanding these potential causes, you can better diagnose the problem and take the appropriate steps to tighten your loose faucet.
Essential Tools and Materials for Faucet Tightening
Before you begin, gather the necessary tools and materials to ensure a smooth and efficient repair. Having everything on hand will save you time and frustration. Here’s a list of essential items:
- Adjustable wrench: This versatile tool is essential for tightening nuts and bolts of various sizes.
- Basin wrench: A basin wrench is specifically designed for reaching into tight spaces under the sink to loosen or tighten mounting nuts.
- Screwdrivers (Phillips and flathead): Depending on the faucet model, you may need screwdrivers to remove handles or access mounting hardware.
- Penetrating oil: This can help loosen corroded or stuck nuts and bolts.
- Plumber’s putty: This pliable sealant helps create a watertight seal between the faucet base and the sink or countertop.
- Clean cloths or sponges: These are useful for cleaning up spills and wiping down surfaces.
- Flashlight or headlamp: Good lighting is essential for working in the dimly lit space under the sink.
- Safety glasses: Protect your eyes from debris and splashes.
- Gloves: Protect your hands from dirt and grime.
With these tools and materials at your disposal, you’ll be well-equipped to tackle the task of tightening your loose faucet.
Step-by-Step Guide: How to Tighten a Loose Faucet
Now that you have the necessary tools and understand the potential causes of a loose faucet, let’s get down to the actual repair process. Follow these step-by-step instructions carefully for a successful outcome:
- Turn off the water supply: Locate the shut-off valves under the sink and turn them clockwise to stop the flow of water to the faucet. If you can’t find individual shut-off valves, you may need to turn off the main water supply to your house.
- Clear the area under the sink: Remove any items stored under the sink to give yourself ample space to work.
- Inspect the faucet mounting: Examine the area where the faucet meets the sink or countertop. Look for any loose nuts, bolts, or screws.
- Tighten the mounting nuts: Use an adjustable wrench or basin wrench to tighten the mounting nuts. Be careful not to overtighten, as this could damage the faucet or the sink. Turn the nuts clockwise until they are snug but not excessively tight.
- Check for loose connections: Inspect the water supply lines connected to the faucet. If any connections are loose, gently tighten them with an adjustable wrench. Again, avoid overtightening.
- Apply penetrating oil (if needed): If any of the nuts or bolts are corroded or stuck, apply a small amount of penetrating oil and let it sit for a few minutes before attempting to tighten them.
- Apply plumber’s putty (if needed): If the faucet base is not making a watertight seal with the sink or countertop, remove the faucet and apply a ring of plumber’s putty around the base. Then, reinstall the faucet and tighten the mounting nuts.
- Test the faucet: Turn the water supply back on slowly and check for leaks. If you see any leaks, turn off the water supply and tighten the connections further.
- Clean up: Once you’ve confirmed that the faucet is secure and there are no leaks, clean up any spills or debris and replace any items you removed from under the sink.
By following these steps carefully, you should be able to successfully tighten your loose faucet and prevent further problems.
Troubleshooting Common Issues When Tightening a Faucet
While tightening a loose faucet is often a straightforward process, you may encounter some common issues along the way. Here are some troubleshooting tips to help you overcome these challenges:
- Stuck or corroded nuts: If the nuts are difficult to turn due to corrosion, try applying penetrating oil and letting it sit for a few minutes. You can also try using a wire brush to remove any rust or debris. If the nuts are severely corroded, you may need to replace them.
- Limited space under the sink: Working in the confined space under the sink can be challenging. Use a basin wrench, which is specifically designed for reaching into tight spaces. A headlamp can also help provide better visibility.
- Leaking connections: If you notice leaks after tightening the connections, try tightening them further. You can also try wrapping Teflon tape around the threads of the connections to create a better seal. If the leaks persist, you may need to replace the water supply lines.
- Damaged faucet base: If the base of the faucet is cracked or damaged, it may not be possible to tighten it effectively. In this case, you may need to replace the entire faucet.
By addressing these common issues proactively, you can increase your chances of successfully tightening your loose faucet and preventing further problems.
Preventing Future Faucet Looseness
Once you’ve successfully tightened your loose faucet, you’ll want to take steps to prevent it from becoming loose again in the future. Here are some preventative measures you can take:
- Regularly check the mounting hardware: Periodically inspect the nuts, bolts, and screws that hold the faucet in place. Tighten them as needed to prevent them from loosening over time.
- Avoid overtightening: While it’s important to keep the mounting hardware snug, avoid overtightening, as this can damage the faucet or the sink.
- Use plumber’s putty: When installing or reinstalling a faucet, always use plumber’s putty to create a watertight seal between the faucet base and the sink or countertop.
- Replace worn-out parts: If you notice any signs of corrosion or wear on the mounting hardware or water supply lines, replace them promptly to prevent further problems.
- Consider professional installation: If you’re not comfortable installing a faucet yourself, consider hiring a professional plumber to ensure that it’s installed correctly and securely.
By following these preventative measures, you can help keep your faucet secure and prevent future looseness.
When to Call a Professional Plumber
While tightening a loose faucet is often a DIY-friendly task, there are certain situations where it’s best to call a professional plumber. Here are some scenarios where professional help is recommended:
- You’re not comfortable working with plumbing: If you’re not confident in your ability to handle plumbing repairs, it’s best to leave the job to a professional.
- You can’t identify the cause of the looseness: If you’ve tried tightening the mounting hardware and checking for loose connections but the faucet is still loose, there may be a more complex underlying issue that requires professional diagnosis.
- You encounter significant leaks: If you’re unable to stop leaks after tightening the connections, it’s best to call a plumber to prevent water damage.
- The faucet is severely damaged: If the faucet base is cracked or the faucet is otherwise severely damaged, it may need to be replaced by a professional.
- You’re dealing with complex plumbing systems: If you live in an older home or have a complex plumbing system, it’s best to consult with a plumber before attempting any repairs.
In these situations, a professional plumber can provide expert diagnosis and repair services to ensure that your faucet is properly secured and functioning correctly.
Faucet Maintenance Tips for Long-Term Stability
Beyond simply tightening a loose faucet, regular maintenance can significantly extend the life of your fixture and prevent future problems. Here are some essential faucet maintenance tips:
- Clean your faucet regularly: Use a mild soap and water solution to clean your faucet regularly. This will help remove dirt, grime, and mineral buildup that can cause corrosion and other problems.
- Check for leaks: Periodically check around the base of the faucet and under the sink for any signs of leaks. Address any leaks promptly to prevent water damage.
- Lubricate moving parts: Apply a small amount of silicone-based lubricant to the faucet’s moving parts, such as handles and spouts, to keep them operating smoothly.
- Replace worn-out washers and O-rings: Over time, the washers and O-rings inside the faucet can wear out, causing leaks. Replace these parts as needed to maintain a watertight seal.
- Protect your faucet from freezing: In cold climates, protect your faucet from freezing by insulating the pipes and letting the water drip slowly during freezing temperatures.
Choosing the Right Faucet: Factors to Consider
If you’re considering replacing your faucet, it’s important to choose the right model for your needs and preferences. Here are some factors to consider when selecting a new faucet:
- Style: Choose a faucet style that complements your sink and bathroom or kitchen décor.
- Functionality: Consider the features you need, such as a pull-down sprayer, a touchless operation, or a water filter.
- Material: Select a faucet made from durable materials, such as brass or stainless steel, that will resist corrosion and wear.
- Finish: Choose a finish that is easy to clean and maintain, such as chrome, brushed nickel, or oil-rubbed bronze.
- Water efficiency: Look for a faucet with a WaterSense label, which indicates that it meets EPA standards for water efficiency.
- Installation: Consider the installation requirements and choose a faucet that you can install yourself or that can be easily installed by a professional.
Ensuring a Stable Faucet for Years to Come
Tightening a loose faucet is often a manageable task, but proactive maintenance and smart choices during installation or replacement are key to ensuring long-term stability. By regularly inspecting your faucet, addressing any issues promptly, and choosing a high-quality model, you can prevent future problems and keep your faucet functioning smoothly for years to come. Remember to consider the factors we discussed when selecting a new faucet, and don’t hesitate to call a professional plumber if you encounter any complex issues or are uncomfortable performing the repairs yourself. With the right knowledge and approach, you can maintain a stable and leak-free faucet, saving you money and preventing potential water damage.
