
Stop the Drip: A Comprehensive Guide on How to Fix a Leaking Kitchen Sink
A leaky kitchen sink is more than just an annoyance; it’s a potential source of water waste, property damage, and escalating utility bills. But before you call a plumber, take heart! Many common sink leaks are easily fixed with a few basic tools and a bit of know-how. This comprehensive guide on how to fix a leaking sink kitchen will equip you with the knowledge and confidence to tackle most common leaks yourself, saving you time, money, and the hassle of waiting for a professional. We’ll delve into the common causes of leaks, provide step-by-step instructions for various repairs, and offer expert tips to ensure a long-lasting fix. This isn’t just a quick patch; it’s about understanding your plumbing and taking control of your home maintenance.
Understanding the Anatomy of a Leaking Kitchen Sink
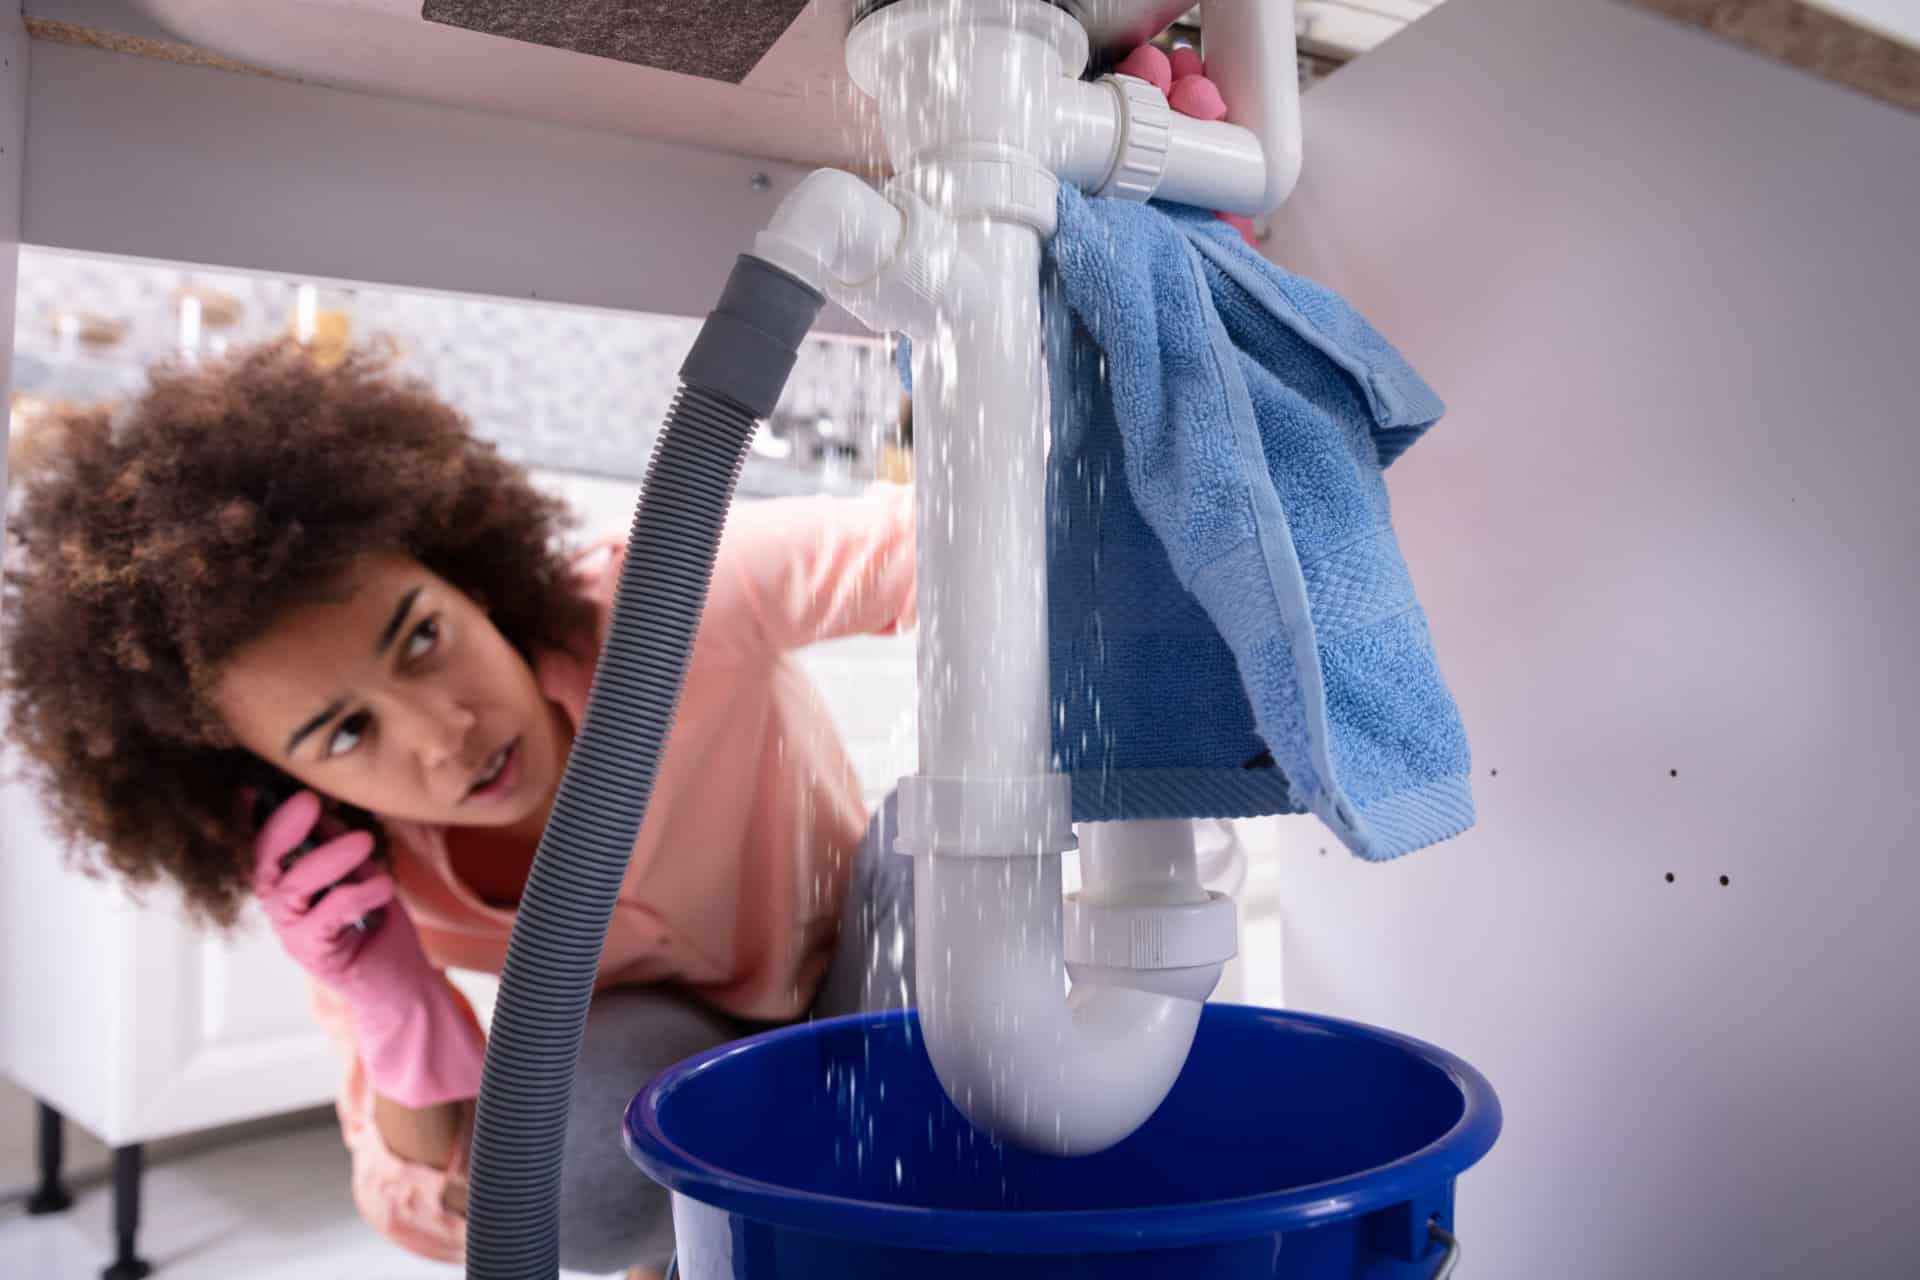
Before diving into repairs, it’s crucial to understand the different components of your kitchen sink and how they interact. This knowledge is key to accurately diagnosing the source of the leak and selecting the appropriate repair method. The sink itself is usually made of stainless steel, porcelain, or composite materials. The faucet, responsible for delivering water, connects to the water supply lines. Below the sink, you’ll find the drain assembly, which includes the strainer, tailpiece, P-trap, and drainpipe. Each of these components is a potential culprit when it comes to leaks.
Here’s a breakdown of the key parts:
- Faucet: The control center for water flow, prone to leaks around the base, spout, or handle.
- Supply Lines: Flexible tubes connecting the faucet to the hot and cold water shut-off valves.
- Shut-Off Valves: These valves control the water supply to the sink and should always be turned off before starting any repair.
- Strainer: The basket-like component in the sink drain that catches food particles.
- Tailpiece: The pipe connecting the strainer to the P-trap.
- P-Trap: The curved pipe that traps debris and prevents sewer gases from entering your home.
- Drainpipe: The pipe that carries wastewater away from the P-trap.
Diagnosing the Source of the Leak: Your First Step to a Dry Sink
Pinpointing the exact location of the leak is paramount. Don’t just assume it’s the most obvious spot. Start by thoroughly inspecting the area under the sink with a flashlight. Look for:
- Visible Water Droplets: Trace the droplets back to their origin.
- Dampness or Staining: These indicate a slow, persistent leak.
- Corrosion: This can weaken pipes and connections, leading to leaks.
- Pooling Water: Note the location of the puddle to narrow down the source.
Dry all the components under the sink with a clean cloth. Then, turn on the faucet and carefully observe each connection, pipe, and fitting for any signs of leaking. Run both hot and cold water, and check while the sink is draining. This will help you identify leaks that only occur under specific conditions. According to plumbing experts, a systematic approach to diagnosis is essential to avoid unnecessary repairs.
Essential Tools and Materials for Fixing a Leaky Sink
Having the right tools and materials on hand will make the repair process much smoother and more efficient. Here’s a list of essentials:
- Basin Wrench: For loosening and tightening nuts in tight spaces, especially on faucets.
- Pipe Wrench: For gripping and turning pipes.
- Adjustable Wrench: A versatile wrench for various nuts and bolts.
- Pliers: For gripping and manipulating small parts.
- Screwdrivers (Phillips and Flathead): For removing and tightening screws.
- Plumber’s Putty: For sealing joints and preventing leaks.
- Teflon Tape (Plumber’s Tape): For sealing threaded connections.
- Replacement Parts: Washers, O-rings, cartridges, and other parts specific to your faucet or drain assembly.
- Bucket: To catch water during repairs.
- Towels or Rags: To clean up spills and dry components.
- Safety Glasses: To protect your eyes from debris.
- Gloves: To protect your hands.
Step-by-Step Guide to Fixing Common Kitchen Sink Leaks
Now that you’ve diagnosed the leak and gathered your tools, let’s tackle some common repair scenarios.
1. Leaking Faucet Base
A leak around the base of the faucet often indicates a worn-out O-ring or seal. Here’s how to fix it:
- Turn off the water supply: Locate the shut-off valves under the sink and turn them clockwise until they are completely closed.
- Disconnect the supply lines: Use a wrench to loosen the nuts connecting the supply lines to the faucet. Have a bucket ready to catch any residual water.
- Remove the faucet: Depending on the faucet design, you may need to loosen screws or nuts holding it in place.
- Inspect and replace the O-ring or seal: Examine the O-ring or seal at the base of the faucet for cracks or damage. Replace it with a new one of the same size and type.
- Reinstall the faucet: Carefully reassemble the faucet, ensuring all connections are tight but not overtightened.
- Reconnect the supply lines: Tighten the nuts connecting the supply lines to the faucet.
- Turn on the water supply: Slowly open the shut-off valves and check for leaks.
2. Leaking Faucet Spout
A leaky faucet spout often indicates a worn-out cartridge or valve. Here’s how to fix it:
- Turn off the water supply: As before, shut off the water supply to the sink.
- Remove the faucet handle: Locate the screw holding the handle in place and remove it. You may need to pry off a decorative cap to access the screw.
- Remove the cartridge or valve: Depending on the faucet design, you may need to use a special tool to remove the cartridge or valve.
- Inspect and replace the cartridge or valve: Examine the cartridge or valve for wear or damage. Replace it with a new one of the same type.
- Reinstall the faucet handle: Carefully reassemble the faucet handle, ensuring all parts are properly aligned.
- Turn on the water supply: Slowly open the shut-off valves and check for leaks.
3. Leaking Supply Lines
Leaks in the supply lines are often caused by loose connections or damaged hoses. Here’s how to fix them:
- Turn off the water supply: Shut off the water supply to the sink.
- Tighten the connections: Use a wrench to tighten the nuts connecting the supply lines to the faucet and shut-off valves. Be careful not to overtighten, as this can damage the fittings.
- Inspect the hoses: Examine the supply lines for cracks, kinks, or other damage. If the hoses are damaged, replace them with new ones.
- Reinstall the supply lines: Carefully reassemble the supply lines, ensuring all connections are tight.
- Turn on the water supply: Slowly open the shut-off valves and check for leaks.
4. Leaking Drain Assembly
Leaks in the drain assembly can occur at various points, including the strainer, tailpiece, P-trap, and drainpipe. Here’s how to fix them:
- Turn off the water supply: Although not directly related to the water supply, it’s a good safety measure to turn off the water before working on the drain.
- Loosen the connections: Use a wrench to loosen the nuts connecting the various components of the drain assembly.
- Inspect the parts: Examine the strainer, tailpiece, P-trap, and drainpipe for cracks, damage, or corrosion. Also, inspect the washers and seals for wear or damage.
- Replace damaged parts: Replace any damaged parts with new ones of the same size and type.
- Apply plumber’s putty: Apply a bead of plumber’s putty around the underside of the strainer flange before reinstalling it. This will create a watertight seal.
- Reassemble the drain assembly: Carefully reassemble the drain assembly, ensuring all connections are tight but not overtightened.
- Test for leaks: Run water into the sink and check for leaks around the drain assembly.
Advanced Techniques for Persistent Leaks
Sometimes, a simple tightening or replacement of parts isn’t enough to stop a persistent leak. In these cases, you may need to employ more advanced techniques.
Using Plumber’s Putty Effectively
Plumber’s putty is a versatile sealant that can be used to create watertight seals around various plumbing fixtures. When using plumber’s putty, it’s important to:
- Knead the putty: Before applying the putty, knead it in your hands until it’s soft and pliable.
- Apply generously: Apply a generous amount of putty to the surface you’re sealing.
- Remove excess putty: After tightening the connection, remove any excess putty with a putty knife or your finger.
Applying Teflon Tape for Threaded Connections
Teflon tape, also known as plumber’s tape, is used to seal threaded connections and prevent leaks. When applying Teflon tape, it’s important to:
- Wrap the tape clockwise: Wrap the tape around the threads in a clockwise direction, overlapping each layer slightly.
- Apply several layers: Apply several layers of tape to ensure a good seal.
- Tighten the connection: After applying the tape, tighten the connection securely.
Preventative Measures to Avoid Future Leaks
Prevention is always better than cure. Here are some tips to help you avoid future kitchen sink leaks:
- Regularly inspect your plumbing: Check under your sink periodically for any signs of leaks or corrosion.
- Tighten loose connections: If you notice any loose connections, tighten them promptly.
- Replace worn-out parts: Replace worn-out washers, O-rings, and other parts before they cause leaks.
- Avoid pouring grease down the drain: Grease can solidify in the drainpipe and cause clogs, which can lead to leaks.
- Use a strainer: Use a strainer to catch food particles and prevent them from clogging the drain.
When to Call a Plumber: Knowing Your Limits
While many kitchen sink leaks can be fixed DIY, some situations require the expertise of a licensed plumber. Call a plumber if:
- You’re not comfortable working with plumbing: If you’re not confident in your ability to fix the leak, it’s best to call a professional.
- The leak is severe: If the leak is causing significant water damage, it’s important to call a plumber immediately.
- You can’t identify the source of the leak: If you’ve tried troubleshooting the leak but can’t find the source, a plumber can help.
- You suspect a more serious plumbing problem: If you suspect a problem with your main water line or drain line, it’s important to call a plumber.
Choosing the Right Replacement Parts: Ensuring a Lasting Repair
When replacing parts, always opt for high-quality components specifically designed for your faucet or drain assembly. Using generic or inferior parts can lead to premature failure and recurring leaks. Consult your faucet’s manual or the manufacturer’s website to identify the correct part numbers. Many local hardware stores and plumbing supply shops can also assist you in finding the right replacement parts.
The Importance of Water Conservation and Leak Detection
A seemingly small drip can waste gallons of water over time, leading to higher water bills and unnecessary strain on our water resources. Regularly checking for and repairing leaks is a crucial step in water conservation. Consider installing a water leak detector, especially if you travel frequently or have a history of plumbing issues. These devices can alert you to leaks early on, preventing costly damage and water waste. By taking proactive steps, you can contribute to a more sustainable future.
Taking Control of Your Kitchen Plumbing
Fixing a leaky kitchen sink might seem daunting at first, but with the right knowledge, tools, and a little patience, it’s a task that many homeowners can successfully accomplish. By understanding the components of your sink, diagnosing the source of the leak, and following the step-by-step instructions outlined in this guide, you can stop the drip and save yourself time, money, and frustration. Remember to prioritize safety, use high-quality replacement parts, and don’t hesitate to call a plumber when needed. Now that you know how to fix a leaking sink kitchen, you are well equipped to tackle this common household problem. Share your experiences with fixing a leaking sink in the comments below!
